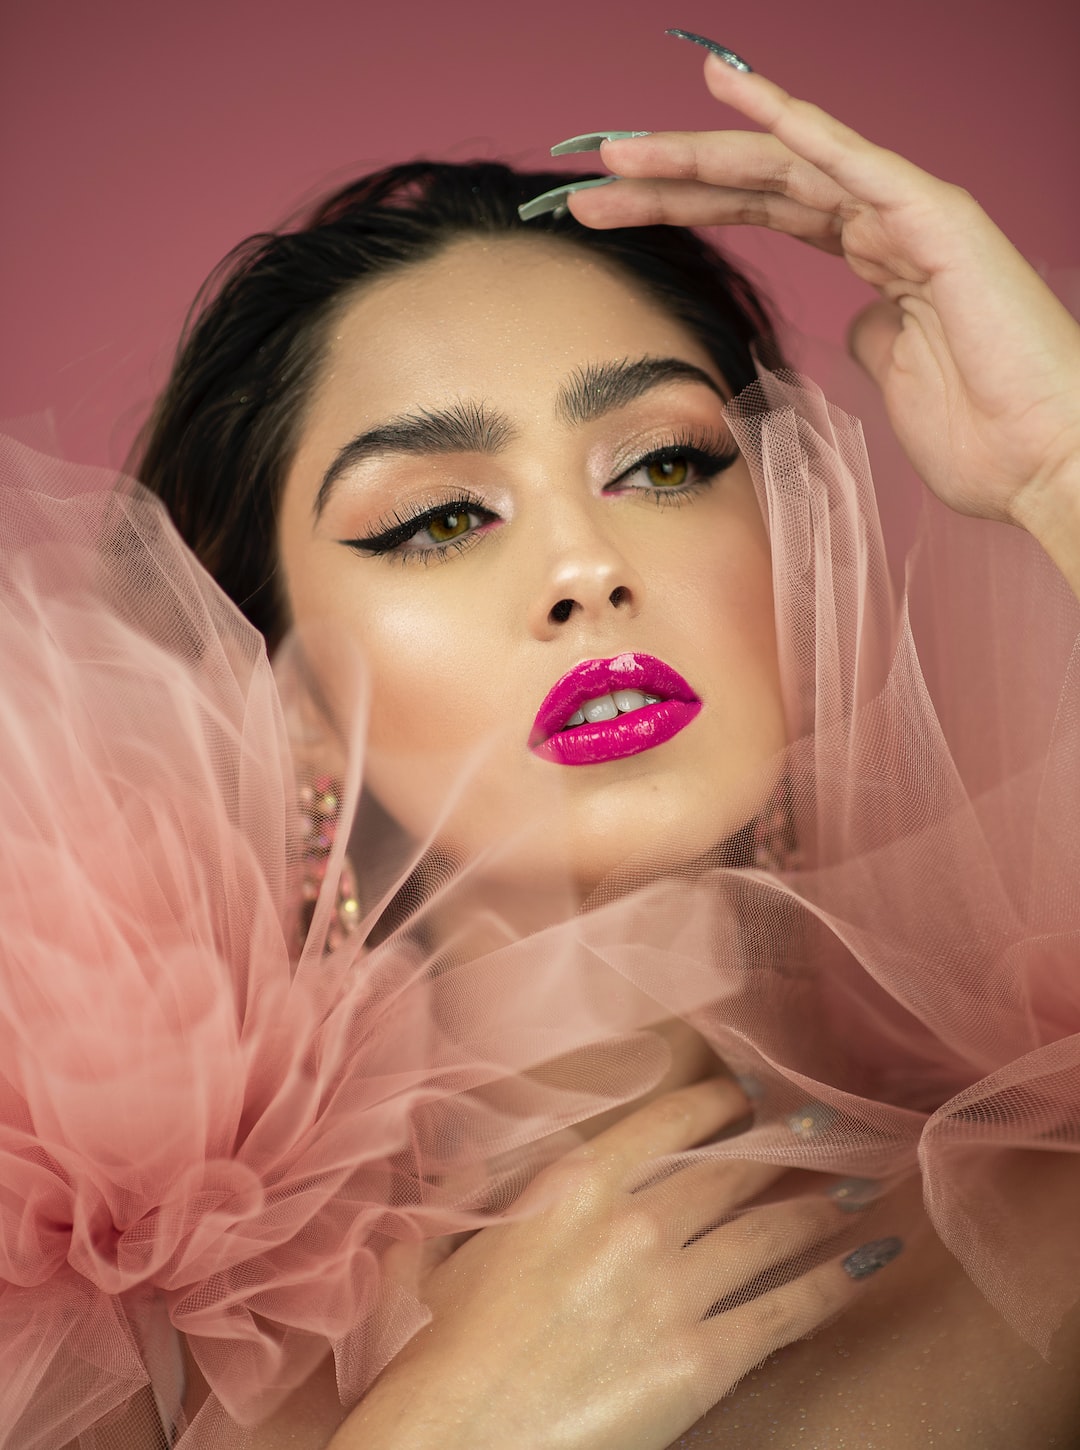
Creating a Simple Yet Glamorous Smokey Eye: A Step-by-Step Guide
The smokey eye look is a classic makeup technique that never goes out of style. It exudes confidence, sophistication, and a touch of mystery. However, achieving the perfect smokey eye can often feel daunting, especially for beginners. Fear not, as this step-by-step guide will help you create a simple yet glamorous smokey eye that will make heads turn.
Step 1: Prepare Your Canvas
Before diving into the smokey eye look, it is crucial to ensure that your canvas is primed and ready. Start by applying a good eyeshadow primer all over your eyelids. This step will help your eyeshadows last longer and prevent them from creasing. Additionally, it will allow the eyeshadow colors to appear more vibrant.
Step 2: Lay Down a Base Color
To begin building the smokey eye, start by laying down a base color all over your eyelids. Opt for a neutral shade that matches your skin tone or a soft taupe shade. This base color will act as a foundation for the following eyeshadow layers, helping to blend your shadows seamlessly and creating a cohesive look.
Step 3: Choose Your Main Eyeshadow Shade
The true essence of a smokey eye lies in the main eyeshadow shade. Select a dark, rich color that complements your eye color and overall look. Classic options include deep charcoals, rich browns, or intense purples. Using a fluffy eyeshadow brush, gently pat the main shade onto the outer corner of your eyes and blend it into the crease. Remember to build the color gradually and blend as you go to avoid any harsh lines.
Step 4: Add Depth with a Transition Shade
To enhance dimension and add depth to the smokey eye, incorporate a transition shade. This color should be slightly lighter than your main shade and serve as a bridge between the main eyeshadow and the highlight shade. Using a fluffy blending brush, sweep the transition shade back and forth in the crease area to blend it seamlessly into the main eyeshadow. This will create a gradient effect and soften any harsh lines.
Step 5: Highlight to Illuminate
A smokey eye without a little bit of highlight is like a sky without stars. Choose a shimmery or metallic shade that complements the main eyeshadow color and apply it to the inner corner of your eyes and the center of your eyelids. This will add a touch of brightness and make your eyes pop. Don’t forget to blend the highlight shade gently into the rest of the eye makeup to avoid any stark contrast.
Step 6: Define the Lower Lash Line
The lower lash line is often neglected in many eye makeup looks, but it plays a crucial role in creating a complete smokey eye. Take a smudger brush or a small precision brush and apply the main eyeshadow shade or a slightly lighter version along your lower lash line. This will create balance and add intensity to the overall look. Remember to blend the eyeshadow gently for a seamless finish.
Step 7: Eyeliner and Mascara
No smokey eye is complete without eyeliner and mascara to frame the eyes. Opt for a black or dark brown eyeliner and apply it along your upper lash line, making it as close to the lashes as possible. This will create the illusion of thicker, fuller lashes. Follow up with a couple of coats of mascara to define and lengthen your lashes. If desired, you can also add false lashes for extra drama.
Step 8: Clean Up any Fallout
Throughout the process of creating a smokey eye, there may be some fallout or excess eyeshadow that settles beneath your eyes. Use a clean brush or a makeup wipe to gently remove any fallout without disturbing the rest of your makeup. This step will ensure a clean and polished finish.
With these eight simple steps, you can create a glamorous smokey eye that is perfect for any occasion. So grab your favorite eyeshadow palette, have fun experimenting with different shades, and get ready to rock that mesmerizing smokey eye with confidence!


